
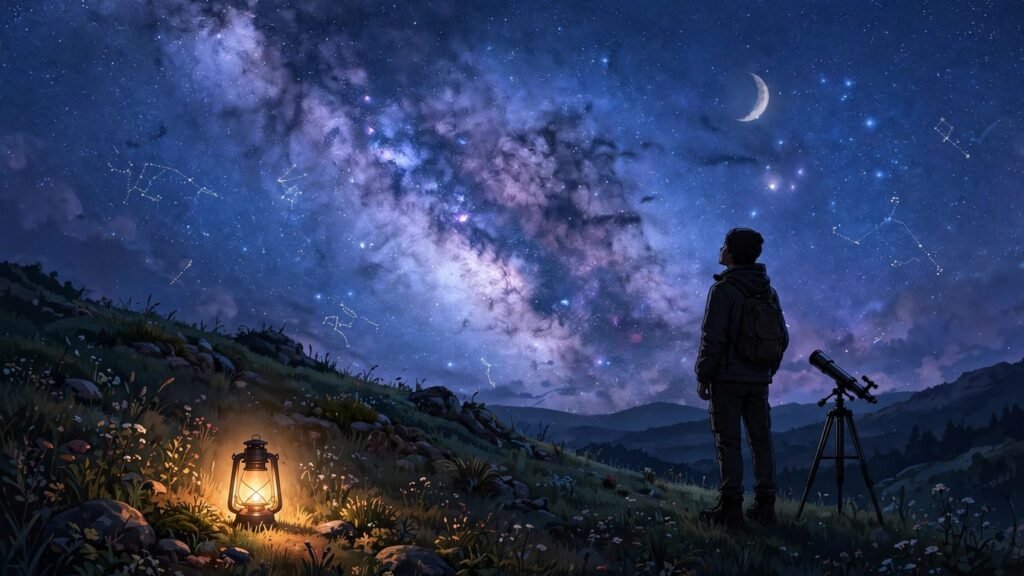
Every astronomer has a first night. For most of us, it was not dramatic — just a dark road, a clear sky, and that odd realization that the dots up there have names, and people have been naming them for thousands of years. Maybe you were camping, or stuck outside at a barbecue, or you just looked up and actually looked.
Here is the good news nobody tells you at the telescope shop: astronomy for beginners is mostly free. The sky is the equipment. What you need is not a bigger telescope — it is a plan. A plan for what to look at, in what order, with what you already have. That is exactly what this guide gives you: your first year under the stars, from your very first naked-eye session to the point where you can find your way around the sky without an app.
The short answer: Astronomy for beginners starts with your naked eyes under the darkest sky you can reach. Learn four or five constellations first, follow the Moon through its phases, and use a free app to identify what you are seeing. Hold off on buying a telescope for the first few months — when you are ready for equipment, a pair of 10×50 binoculars is the best beginner upgrade, not an expensive telescope.
What Is Astronomy, Really?
Strip away the textbooks and astronomy is simply the study of everything beyond Earth’s atmosphere — stars, planets, moons, galaxies, comets, and the space between them. But as a hobby, it means something much more practical: going outside at night and learning to read the sky the way sailors once did.
A lot of people confuse astronomy with astrophysics. You do not need math to enjoy this hobby. The ancient Greeks who named most of our constellations were using eyesight and patience, not equations. Modern beginners have it even easier — free apps, cheap binoculars, and decades of mapped sky data at your fingertips. Your job is just to show up.
It also helps to know what astronomy is not: astrology. Astronomy is a science — it measures, predicts, and verifies. The positions of the planets are known to the minute; eclipses are predicted years in advance. Nothing about your personality. Keep that distinction in your pocket for the next time someone asks.
What Can You See With Just Your Eyes?
More than you think. On a clear night away from city lights, the naked eye can pick out roughly a couple of thousand stars — and more importantly, it can see structure. The Milky Way stretches across the sky like spilled milk. The Moon shows texture. Five planets — Mercury, Venus, Mars, Jupiter, and Saturn — are visible without any optics at all, appearing as unusually bright, steady points of light that don’t twinkle the way stars do.
Beginners consistently underestimate the Moon. It is not one target; it is a month-long show. Craters, mountain ranges, and dark lava plains (called maria) all shift their appearance as sunlight sweeps across them over the 29-and-a-half-day lunar cycle. Even without binoculars, watching the Moon change night to night teaches you more about observing than almost anything else.
Then there are the occasional showpieces. Bright comets, the International Space Station gliding silently overhead, meteors streaking by on an ordinary night — all free, all visible without equipment. Your first “naked-eye only” month should be about one thing: proving to yourself that the sky is already full of interesting things before you spend a single pound.
Do You Really Need a Telescope to Start?
No. And buying one too early is the single most common mistake in astronomy for beginners. Here is why: a telescope is a precision instrument with a learning curve. Pointing it, aligning the finder, choosing the right eyepiece, keeping your target in view as the Earth rotates — all of this is frustrating when you cannot yet find your way around the sky.
The classic story repeats itself in astronomy clubs everywhere: someone buys a department-store telescope, wrestles with it on a cold driveway for three nights, sees nothing but blurry dots, and gives up. The telescope ends up in a garage. The problem was never the sky — it was the sequence. Learn the sky first with your eyes, graduate to binoculars, and only then buy a telescope you actually know how to aim.
That said, there is a right time for equipment. When you can point to ten constellations without help and you find yourself wanting more detail on the Moon’s craters or Jupiter’s cloud bands, you are ready. The next section walks through exactly what to get and in what order.
What Is the Best First Equipment?
Think of beginner astronomy gear as a ladder, not a shopping list. Each rung builds a skill you will use on the next one. Skip a rung and you will feel it.
Rung 1: Your eyes and a reclining chair
Not a joke. The best free upgrade to your stargazing is a garden lounger or a blanket, because craning your neck at the zenith gets old in about four minutes. A red flashlight is the one genuinely useful accessory at this stage — white light destroys your night vision for up to twenty minutes, while red light preserves it. Your eyes, given half an hour in the dark, adapt remarkably; that adaptation is doing more work than any gadget.
Rung 2: Binoculars — the real beginner instrument
If astronomy clubs could agree on one recommendation, it would be this: a pair of 10×50 binoculars. They cost a fraction of a telescope, need zero setup, and reveal the Moon’s craters, Jupiter’s four largest moons, star clusters like the Pleiades, and even the Andromeda Galaxy as a faint smudge of light. That smudge is worth sitting with for a moment — the light you are seeing left that galaxy about 2.5 million years ago.
The one caveat: hold binoculars steady. At 10× magnification your hands shake enough to matter, so brace your elbows on a fence or lie back in a chair. This is genuinely the highest-value equipment purchase a beginner can make.
Rung 3: Your first telescope
When the sky feels familiar and binoculars feel limiting, you are ready. The beginner telescope market boils down to three designs:
| Telescope type | How it works | Best for | Watch out for |
|---|---|---|---|
| Refractor | Lenses, like a long spyglass | Moon and planets, crisp views | Good ones are expensive for their size |
| Reflector (Dobsonian) | Mirrors on a simple swivel base | Deep-sky objects, most aperture for the money | Large tubes to store and carry |
| Catadioptric | Mirrors plus lenses, compact tube | Portability, photography later on | Pricier and more complex to maintain |
The Dobsonian reflector is the default recommendation of amateur astronomy for one reason: aperture per pound. A larger mirror gathers more light, and light is everything. A six-inch Dobsonian will show Saturn’s rings, the bands of Jupiter, and hundreds of deep-sky objects — and it costs far less than a smaller, fancier-looking telescope with a flimsy mount. Which brings us to the golden rule of telescope shopping: spend your money on the mount first. A shaky mount ruins a good telescope; a solid mount makes a modest one enjoyable.
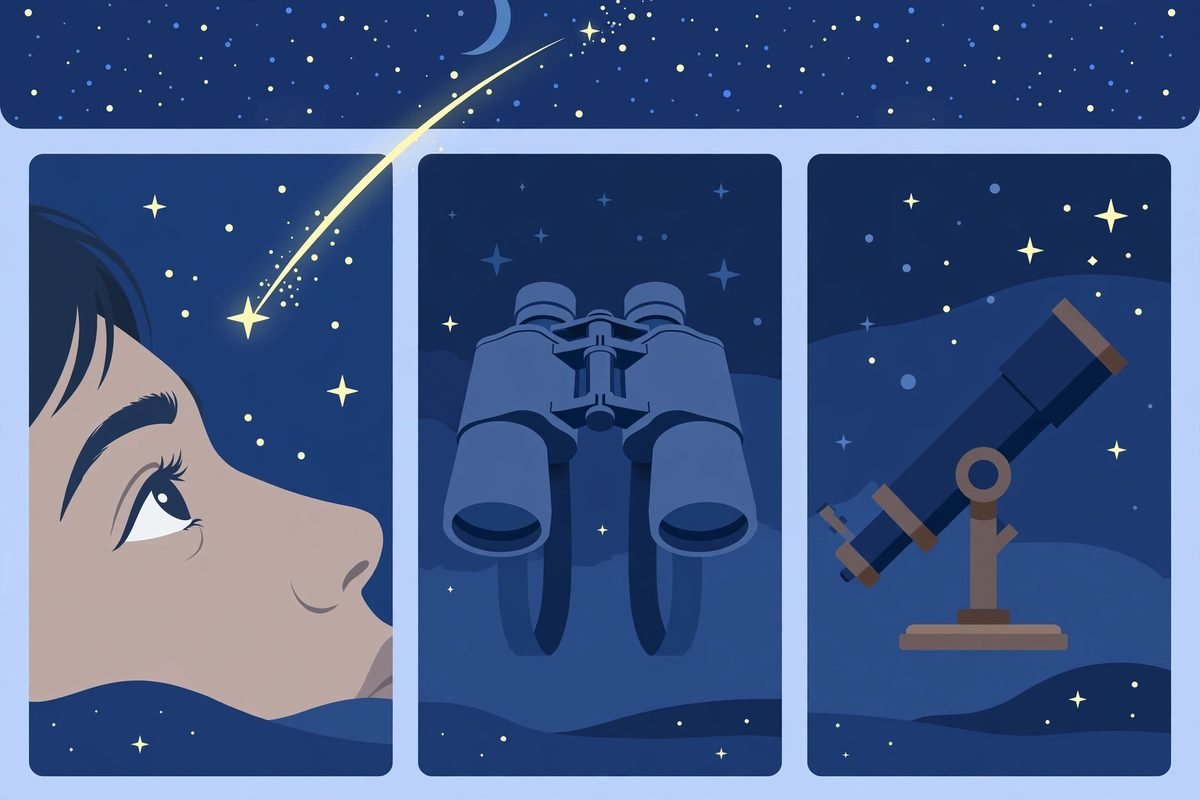
Naked eyes, a pair of 10×50 binoculars, or a small Dobsonian telescope – each step up reveals more of the night sky, but the first is all you truly need to begin.
How Do You Learn the Constellations?
Learning constellations feels impossible until it clicks — then it feels obvious. The trick is to start with anchor constellations, the big unmistakable ones, and navigate from those to everything else. Astronomers call this star-hopping, and it is the core skill of the whole hobby.
Start with these four anchors
- The Big Dipper (the Plough): seven bright stars shaped like a saucepan. The two stars at the front of the bowl point straight at Polaris, the North Star. This one trick unlocks the whole northern sky.
- Orion: three stars in a row for the belt, with bright Betelgeuse and Rigel at the corners. Dominant in winter evenings; if you only learn one constellation, make it this one.
- Cassiopeia: a big “W” (or “M”, depending on the hour) on the opposite side of Polaris from the Dipper. Your year-round anchor when the Dipper is low.
- Scorpius: a genuine fishhook shape low in the southern summer sky, with the red giant Antares glowing at its heart.
The star-hopping method
Star-hopping is dead simple: start at something you can find (an anchor), then follow a short chain of stars — a pointer, a triangle, a little arc — to something you cannot. The Dipper’s pointer stars lead to Polaris. Follow the curve of the Dipper’s handle and you “arc to Arcturus” in the constellation Boötes. Every guidebook route in astronomy is written this way because it works: one confident hop leads to the next.
Practical tip: learn in person, not from a book indoors. Go out on a clear night with one constellation as your goal, find it, and stare. Let your brain register the pattern. One constellation per night is a perfect pace. Within two months you will know a dozen without trying.
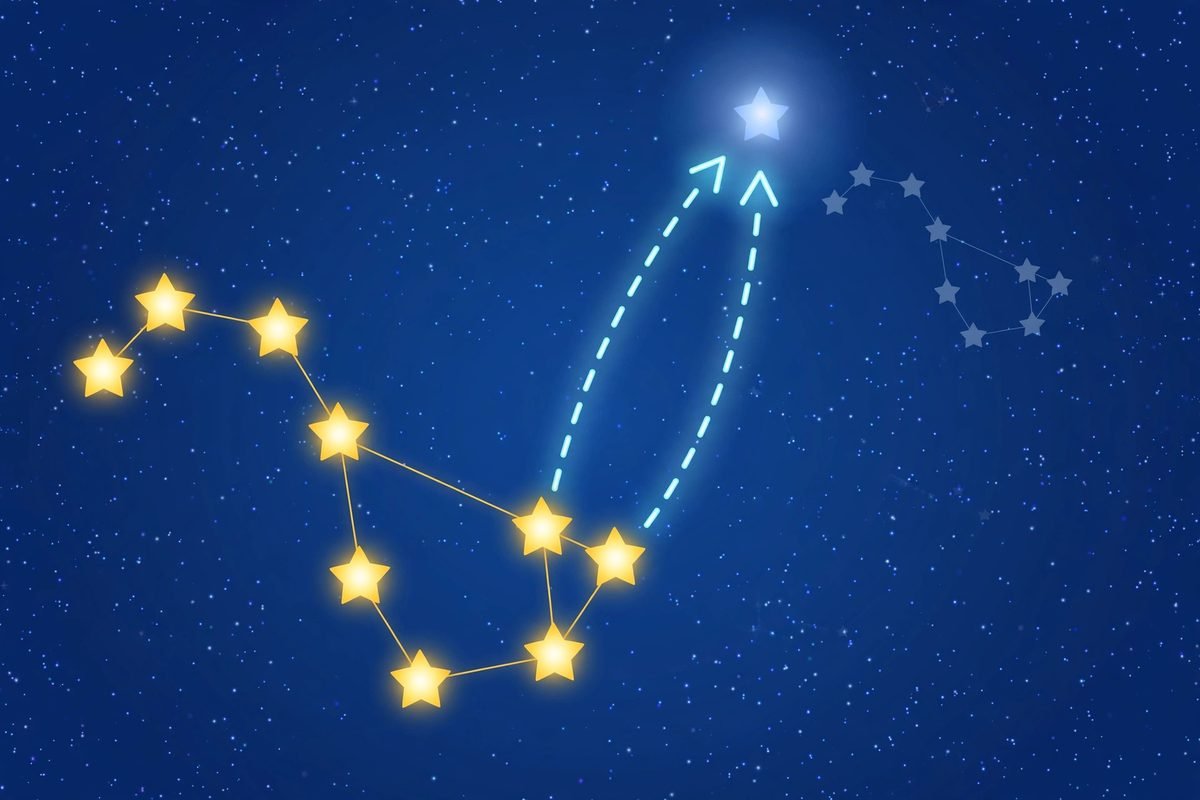
Star-hopping in action: the Big Dipper’s two pointer stars draw a straight line to Polaris, the North Star – the easiest first trick every beginner learns.
Which Apps and Star Charts Actually Help?
Free stargazing apps have changed astronomy for beginners completely. Point your phone at the sky and the app labels what you are looking at — constellations, planets, satellites. Use them as training wheels, though, not a crutch: the goal is to eventually find things without them. A phone screen also wrecks your night vision, so switch on any “night mode” or red-screen setting before you step outside.
| App | What it does best | Cost |
|---|---|---|
| Stellarium | Realistic sky simulation, plan any night in advance | Free (mobile and desktop) |
| SkySafari | Huge object database, telescope control for later | Free basic version |
| Star Walk 2 | Pretty augmented-reality sky labels | Free with ads |
| Heavens-Above | Satellite and ISS pass predictions | Free |
The old-school alternative is a planisphere — a rotating cardboard star wheel for your latitude. It never runs out of battery, never needs an update, and forcing yourself to match its chart to the real sky builds the mental map faster than any app. Many beginners learn fastest with both: the app to check answers, the planisphere to train the eye.
Where Should You Stargaze?
Location matters more than equipment. The difference between a city backyard and a dark country field is not incremental — it is transformational. From a bright suburb you might see a few dozen stars; from a truly dark site the Milky Way casts a faint shadow.
Understanding dark skies
Astronomers measure sky darkness with the Bortle scale, which runs from Class 1 (the darkest desert) to Class 9 (inner-city). Most beginners live under Class 5–7 skies, which is fine for the Moon, planets, and bright constellations — you do not need to drive hours to start. But plan at least one trip a year to a dark-sky location. Seeing the Milky Way in full for the first time is the kind of experience that converts a casual interest into a lifelong hobby.
Backyard stargazing tips that actually work
- Block local light. A fence, a hedge, or even a parked car between you and the nearest streetlight makes a real difference.
- Give your eyes 20–30 minutes of darkness before judging what you can see. Full night vision is a slow chemical process in your retinas — one glance at a phone resets it.
- Observe with the Moon in mind. A full Moon floods the sky and washes out faint stars; plan deep-sky observing for the week around the new Moon instead.
- Stay warm and comfortable. This sounds like lifestyle advice, but cold beginners quit early. A thermos, a blanket, and a lounger will keep you out three times as long — and time under the sky is the whole game.
How Do You Read the Sky Like an Astronomer?
Astronomers use a small set of terms constantly. Learn these and beginner guides stop sounding like a foreign language:
- Apparent magnitude: how bright an object looks from Earth. The scale runs backwards — lower numbers are brighter. Venus can reach about magnitude −4; the faintest stars you can see are around magnitude 6.
- Right ascension and declination: the sky’s latitude and longitude. Declination measures north–south position; right ascension measures east–west in hours. You will see these coordinates next to every object in star charts and apps.
- The ecliptic: the path the Sun, Moon, and planets follow across the sky. The zodiac constellations sit along it — which is why planets are always found near that band, never randomly placed.
- Terminator: the line between day and night on the Moon. Near the terminator, long shadows make craters and mountains pop into relief — which is why the most dramatic lunar views come at quarter Moon, not full.
- Zenith: the point directly overhead. Objects near the zenith are at their clearest, seen through the least atmosphere.
- Seeing and transparency: two kinds of “good night.” Transparency is how clear the air is (no haze); seeing is how steady it is (no twinkling blur). Steady, clear nights are what telescope owners dream about.
What Should You Observe First?
Here is a realistic first-year observing ladder. Do not rush it — each stage teaches the skills the next one needs.
Your first night: the Moon and one constellation
Start absurdly small. Find the Moon (hard to miss), notice the dark patches and any visible texture. Then find one anchor constellation — the Big Dipper or Orion, depending on the season — and learn to recognize it instantly. That is a complete, successful first session. If you want more, check an app like Heavens-Above for an ISS flyover; watching the station glide silently across the sky never gets old.
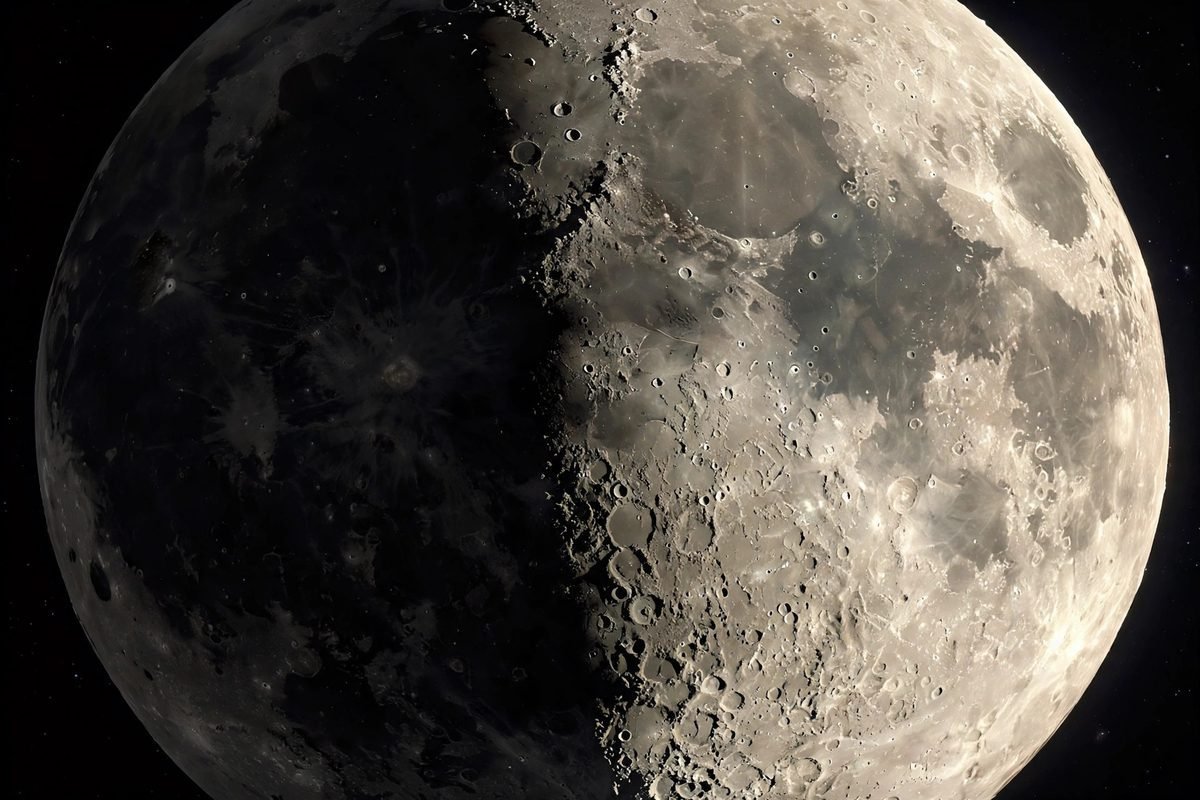
The Moon’s terminator – the line between day and night at first quarter – where long shadows make craters and mountains leap into view.
Your first month: the Moon’s cycle and the bright planets
Watch the Moon every few nights and you will learn the phases from experience, not diagrams — the waxing crescent, the dramatic quarter-Moon terminator, the washed-out full Moon, the waning phases. Meanwhile, learn to spot planets. They are the bright “stars” that do not twinkle. Venus blazes near sunrise or sunset; Jupiter is the steady, brilliant beacon that outshines everything except Venus and the Moon; Mars glows distinctly orange-red when it is well placed.
Your first year: deep-sky showpieces
With binoculars and a few constellations under your belt, the deep sky opens up:
- The Orion Nebula (M42): a stellar nursery visible as a fuzzy patch in Orion’s sword — spectacular even in binoculars, mind-blowing in a telescope.
- The Pleiades (M45): the Seven Sisters cluster in Taurus; shimmering blue-white stars that binoculars resolve beautifully.
- The Andromeda Galaxy (M31): the most distant object visible to the naked eye from a dark site — a faint smudge, and the farthest thing your unaided eyes will ever see.
- The Ring Nebula (M57): a small smoke-ring of gas in Lyra, a good first “faint fuzzy” challenge for a small telescope.
- Double stars like Albireo: a gold-and-blue pair in Cygnus that splits nicely in small telescopes — proof that color exists up there.
For context on how far this hobby can take you, the instruments professionals use today are almost beyond imagination — the story of The James Webb Telescope and the New Era of Astronomy shows what modern astronomy is achieving. But everything on your list above was discovered centuries before Webb existed, with far simpler tools.
When Is the Best Time to Go Out?
Beginners often assume midnight is best. In reality, the “best” time depends on what you are hunting:
- Right after dark: ideal for planets and the Moon, and the most convenient for weeknights. Venus and Mercury hug the Sun, so they appear near sunset or sunrise, not at midnight.
- New Moon weeks: the darkest skies of the month — prime time for the Milky Way, galaxies, and nebulae.
- Seasonal skies: winter evenings offer Orion and the brightest stars of the year; summer brings the Milky Way’s glowing core and Scorpius; spring and autumn have their own galaxy seasons. Observing year-round doubles your sky.
- Meteor showers: the Perseids in August and the Geminids in December are the two reliable annual showpieces — no equipment needed, just a dark sky and patience after midnight.
One more timing tip: check the weather like an astronomer, not a tourist. You want clear skies and steady air. Many beginners use astronomy-specific forecasts that predict cloud cover and atmospheric steadiness separately — a clear but turbulent night is fine for the Moon, terrible for planets.
How Do You Keep Going — and Join the Community?
Astronomy is a solitary hobby until it suddenly is not. Most beginners hit a wall around month three: they know the basics, but progress feels slow and the sky feels repetitive. That is exactly when joining other people pays off.
Local astronomy clubs exist in most cities, and they are beginner magnets in the best way. Clubs run star parties — group observing nights where members set up telescopes and want you to look through them. Trying five different telescopes at a star party teaches you more about what to buy than months of online research. Many clubs also lend telescopes to members, which is the smartest way to test-drive equipment.
Online, the community is equally welcoming. Forums and social groups are full of people posting their first Moon photo taken through a phone held up to an eyepiece — and getting genuine encouragement. If you are wondering how to structure your actual learning, a beginner’s guide to actually learning astronomy lays out a thoughtful middle path between shallow articles and dense textbooks. Keep a simple observing log — date, target, conditions, what you saw — and you will be amazed how quickly “I know nothing” turns into “I know my sky.”
Frequently Asked Questions
How long does it take to learn astronomy?
You can learn the major constellations and the Moon’s phases within a month of regular observing. Real comfort with the sky — finding objects by star-hopping, knowing what is up in each season — typically takes about a year of casual sessions. The learning never really stops, which is part of the appeal.
Can you do astronomy from a city?
Yes, with adjusted expectations. The Moon, planets, bright star clusters, double stars, and the ISS are all perfectly enjoyable from city skies. What cities take away is the faint stuff — galaxies, nebulae, the Milky Way. Many urban astronomers do their planet and Moon work from home and save deep-sky targets for occasional dark-sky trips.
What is the best telescope for a complete beginner?
A six-inch Dobsonian reflector is the most common recommendation: it gives the most light-gathering power for the money, is mechanically simple, and shows the Moon, planets, and hundreds of deep-sky objects well. But the honest answer is to start with binoculars for a few months first — then you will know what you actually want from a telescope.
Do I need to know math or physics to enjoy astronomy?
No. Enjoying the night sky requires curiosity, not calculations. Understanding comes in layers — you can appreciate Saturn’s rings perfectly well before you learn orbital mechanics. Plenty of lifelong amateur astronomers never touch the math.
What is the easiest planet to find?
Venus, when it is visible — it is the brightest thing in the sky after the Sun and the Moon, glowing near sunrise or sunset. Jupiter is next: a brilliant, steady, cream-colored light that does not twinkle. Both are unmistakable once you know what to look for.
Why do stars twinkle but planets don’t?
Twinkling is caused by Earth’s turbulent atmosphere bending starlight. Stars are effectively points of light, so the bending makes them flicker. Planets appear as tiny discs, so the turbulence averages out across the disc and they shine steadily. That steadiness is exactly how beginners tell planets apart from stars.
Is astrophotography hard for beginners?
Serious deep-sky astrophotography is genuinely difficult and expensive — it is a separate hobby with its own steep learning curve. But casual night-sky photography is easy: a modern phone on a tripod can capture constellations, the Milky Way, and even meteor streaks. Start with a phone and a cheap tripod; graduate to dedicated cameras only if the bug truly bites.
Conclusion
Astronomy for beginners is not about equipment — it is about attention. The sky has been running the same spectacular show every clear night of your life; this guide just hands you the program. Start with your eyes, learn a handful of constellations, follow the Moon, and let binoculars be your first real upgrade. Somewhere in that first year, on some ordinary night, you will look up and realize you can read the sky. That moment — when the dots become places — is what the whole hobby is for.
So tonight, if the sky is clear: go outside, give your eyes twenty minutes, and find one constellation. The universe has been waiting 13.8 billion years. It can wait while you learn its streets, one star at a time.
Read Also: What Is Design Thinking? The Five Stages, Explained Simply (Guide 2026)

1 Comment